It’s the important question facing every renovator: restore or replace? When it comes to tiled roofs, the decision is heavily guided by future plans for the home. Most renovators will have the option to either replace a tiled roof entirely or restore it. There are a number of factors to consider, including the long-term plans for the home. Undertaking a complete re-roof can be a valuable investment for those looking to stay in their home for the long term. Although the initial cost may be higher than restoring the roof, homeowners benefit from the longer warranties typically associated with installing new roof tiles.
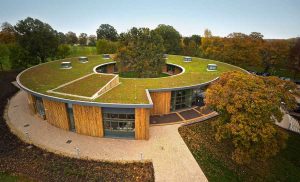
A re-roof is also an opportunity to upgrade roofing materials. Homeowners may wish to replace old concrete roof tiles with durable terracotta tiles for longer-lasting colour. Terracotta tiles are manufactured using a special firing process that locks in colours to help retain the tiles appearance over time. The benefits of a new roof also extend beyond aesthetics. Sarking can only be installed during construction and can contribute to improved thermal performance and comfort in the home. The reflective foil insulation is laid beneath tiles to enhance weatherproofing and energy efficiency.
Renovators wanting to spruce up their home ahead of a sale or short term renovation may prefer to restore existing roof tiles. Restoration can be a cost-effective and relatively quick option for rejuvenating a home’s exterior. However, the aesthetic benefits may be shorter-lived when compared to a re-roof. Restoration typically involves cleaning and painting existing tiles. In some cases, the tiles may be resistant to new finishes, resulting in cracks and chips over time. Warranties on a roof restoration vary by supplier but tend to range between five to eight years, which is short in relation to a house’s life.
The condition of an existing tiled roof will also guide the decision to replace or restore. In some cases, homeowners may not have a choice. Where a roof is completely dilapidated by heavy weather or extreme age, for example, a re-roof may be the only option. Those undertaking a renovation are encouraged to have tiled roofs checked by a roofing professional, especially if original materials have been in place for 25 years or more. This can identify any damage or potential issues, and the installer can provide advice on repair or replacement options. Looking for roof restoration Melbourne? Look no further! Top Glaze has you covered.
Types of Tile Roof Repairs
When it comes to tile roof repairs, many DIY videos tend to oversimplify the complexity of things. No two repairs are exact. Each repair requires an assessment by a professional roofer to ensure that you spend only what is needed and that your roofing investment is protected. Here we take a look at three different roof types and the different repairs they may require
Shingles
There are two main types of asphalt shingles Architectural or Dimensional: a premium grade of asphalt shingle roofing. These shingles are thicker and have a distinctive, textured appearance. Then there are “3-tab” shingles named that for the three-tab flaps with quarter-inch grooves between them in each panel. Both shingle styles are available in several different colours, With proper maintenance, your shingle roof can last for 20 years or longer.
The most common signs that your shingles need repair are leakage in the roof and cracked or curling shingle. Repairing a leak or replacing damaged or missing shingles is not an easy task and should be done by a professional. One wrong step could have devastating effects on your financial and physical health.
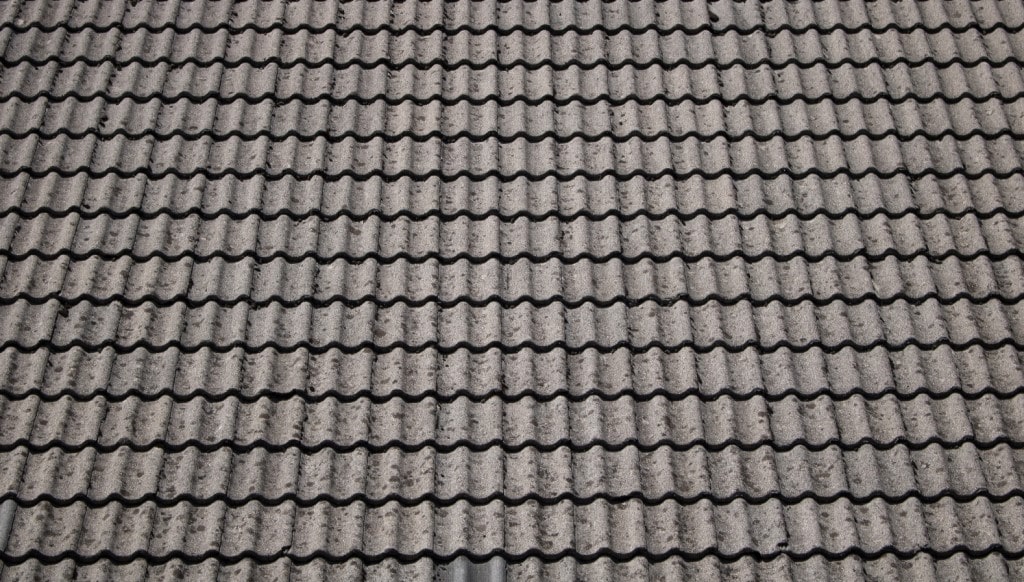
Concrete Roof Tiles
When it comes to durability, concrete roof tiles outweigh their competitors. This form of tiling can provide excellent protection against the harshest environments, including wind and hail – while showing minimal to no sign of damage. With the correct maintenance, concrete roof tiles can last up to 50 years. Concrete roof tiles require minimal maintenance – in the case of damage, only the affected area of the tiling needs to be replaced, not the entire roof. This makes concrete tile an economical option for any homeowner.
Repairing concrete roof tiles can appear to be a simple Saturday afternoon DIY project, but doing so can cost you more than just time and money. Tiles need to be removed to get to expose and repair the leak. Removing tiles incorrectly can result in more damage to your roofs underlayment as well as badly broken tiles, and broken concrete roof tiles cannot simply be glued together. A repair requires physically climbing onto the roof and repairing or replacing the damaged area.
Clay Roof Tiles
Clay tiles are significantly lighter than cement tiles. The tiles can provide sufficient protection against the elements as they are resistant to heat, water, and fire. Clay tiles are unique in that they are eco-friendly yet durable enough to stand the test of time and can last for decades without the need for roof replacement.
Repairing small cracks to clay roof tiles is not as easy as many homeowners think. Small repairs require the cracked area to be scrubbed with a wire brush and then filled with plastic roofing cement or solution to seal the area. Doing so requires precision and knowledge of the type of repair required. Clay tile roof leaks require a skilled roofer to identify the leaking area, and this is a task that should be left to the professionals as the source of the leak could be from a membrane beneath the tile. When you hire a professional roofer, you can rest assured that you will be receiving expert advice and that a small repair will not result in a bigger one. A professional will start by assessing your roof and can provide a comprehensive plan to repair your clay roof tiles.
How Do You Restore Our Roof?
The process for roof restoration varies slightly depending on the roof type. The example below is typical for a concrete tile roof or metal roof. For more information, visit the roof restoration page:
Repairs
On a tiled roof, any broken or cracked tiles must be replaced. On a metal roof, any re-screwing or sheet replacement should be done first. Any other repairs such as replacement or repairs to flashings (this applies to both tiled and metal roofs) should be done before moving to the next step.
Pressure Clean
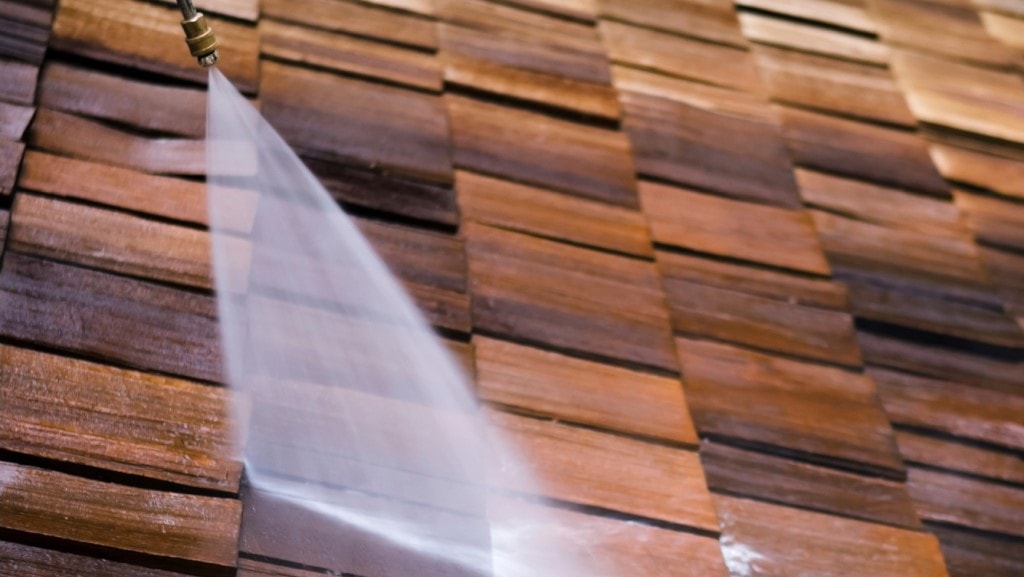
The roof must be pressure cleaned thoroughly with a minimum of 3000 p.s.I (pound per square inch) pressure. An average household will typically put out less than a third of this, so an industrial strength water blaster is required.
The water blaster’s power is paramount on all types of roofs but especially tiled roofs because roof tiles, by the time they are ten years old, have lost their glaze. Once the glaze has eroded, the coating underneath oxidises and becomes very chalky. This chalkiness must be removed, along with the dirt and grit that’s on the surface and in the craters and pores of the tiles.
Special attention must be given to cleaning the tile noses (the ends of the tiles). Where most people come unstuck in cleaning a tiled roof is in cleaning the tile noses. If you ever see a bad roof restoration job, the first thing that stands out is how the ends of the tiles are black. This is simply because they weren’t sufficiently cleaned.
An inexperienced cleaner will avoid cleaning the noses, though, through fear of flooding the ceiling cavity. You see, done the wrong way, cleaning the tile noses will push water up under the tiles and into the roof. You have to get them spotless, but you don’t want to flood the ceiling!
To avoid flooding the ceiling, you need to hold your lance at around 60 degrees and you must move fast to avoid putting too much water in one place.
Re-Bedding and Pointing
If yours is a tiled roof, it will more than likely need re-pointing and perhaps even re-bedding. If it needs re-bedding (it will need re-bedding if the ridge caps are loose), this involves removing the ridge caps and laying a new concrete bed. You should hire bedding rails (these can be hired or bought from some roof tiling supplies yards) to get a neat and straight bed. Mix sand and cement with a 4 : 1 mix, and add a plasticiser to the mix to help it stand up. The ridge caps are then laid on your new cement bed.
Once the bedding is dry (next day is best but you can point over a new bed same-day on warmer days), you can apply the pointing. A polymer-based flexible pointing mortar should be used. The flexibility is vital as roofs are subject to a lot of movement, and you need a mortar that can cope with this movement. The pointing should be applied with a pointing trowel between 3mm and 5mm thickness. Any thicker will make the mortar skin over but not dry properly underneath the skin, and the pointing will sag.
In most cases, if the ridge caps were not loose, re-bedding is not required, in which case you would miss this stage and just apply the pointing over the top of the existing pointing.
Primer
The next stage is to apply the primer or sealer. You should leave the pointing to dry overnight and apply the primer/sealer the next day.
For a tiled roof, you should use a concrete tile primer or sealer. For a metal roof, you need a “Gal” primer.
Using an airless paint machine with a 5/19 tip, you should apply the primer using the recommended coverage rates. The coverage rates depend on whether or not the roof is pre-painted. For a non-pre-painted roof, you’ll need approximately 15 litres per 100m2 for a tiled roof and approximately 10 litres per 100m2 for a metal roof. With a pre-painted roof, you’ll use more. How much more will depend on the thickness of the previous coating (if you couldn’t get it all off). The thicker the previous coating and therefore the more pronounced the edges are, the more primer you’ll need. It’s difficult to give exact coverage rates in these situations but it can be up to 50% more than is required on a non-pre-painted roof.
Filler Coat if Required
With a tiled roof, if the roof is quite bare and/or rough, then you should use a filler coat to “build” the surface and smooth it out. This will give you a much nicer finish with the topcoats and avoid the patchy look you often get when re-coating old bare roof tiles. As with the primer, you should use an airless paint machine, however, a larger tip is required for applying filler coat (a 5/21 is usually sufficient).
Two Top Coats
Using an airless paint machine with a 5/19 tip, you should apply the topcoats using an up and down (from the gutter to ridge) pattern, getting a full stroke from the gutter to the ridge and full stroke back down again wherever possible. This avoids join marks in the coating and is especially important on a metal roof where join marks show up significantly. Top Glaze has a wide range of Melbourne roof restoration services.
Make sure you angle the gun upwards towards the tile noses (ends) as they need very thick coverage due to their roughness and craters. Some applicators will actually spray the bottom three rows of noses first (going around the roof instead of up and down) as they are the hardest to get good coverage on due to the angle you need to hold your gun at being difficult to achieve as you get close to the edge of the roof.
Whichever way you do it, on a tiled roof, make sure that you get super thick coverage on the tile noses. This is one major difference between a good job and a bad job. On the amateurish jobs, the noses will be too thin and will go black within a couple of years.
The coverage rate you need to aim for depends on the roughness and porosity of the tiles. As an average, most roof coatings will cover well at 1 litre per 5 metres per coat (1 : 2.5 including both coats). If you cover at these rates and the roof still looks like it needs more coating, you will need to apply another coat. Suppose you do a very rough or bare roof. In that case, allow for 3 top coats (or use a filler coat as your first topcoat – the coverage rate for filler coats is approximately the same as for the standard topcoats, although you might want to apply it slightly thicker to give you an even better finish).
Hand Painting and Cutting In
Most roofs will have some parts that can’t be sprayed. For example, barge capping, dutch gabes, lead flashings where they go into a wall, etc. These parts will need to be hand-painted.
Drying Times
Check your paint manufacturers recommended dry times and stick with these because it will affect your warranty.
As a guide, though, at 20 degrees C plus, most water-based roof coatings can be over-coated within an hour. At 15 – 20 degrees, it can be 2 – 3 hours. 10 – 15 degrees will need 3 – 4 hours, on average. Under 10 degrees may need to be left until the following day before you over-coat.
Avoiding Over-spray
Any nearby walls, dutch gables, finials, skylights, or other items on the roof should be masked up or covered with tarps or plastic. You can purchase masking tape and plastic from most hardware stores or paint shops.