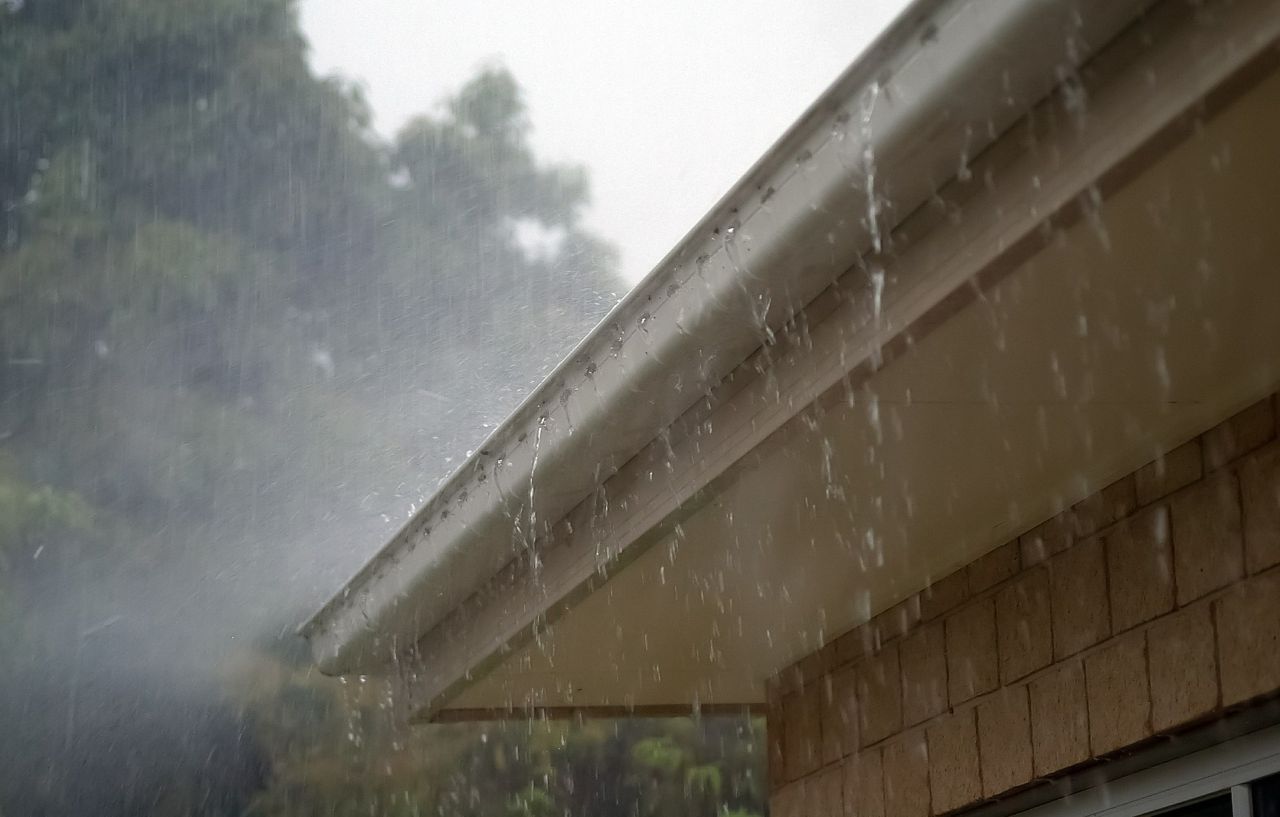
A roof that leaks is a problem in any weather, but a roof that suddenly begins to leak during a heavy rainstorm can quickly turn into an emergency. With heavy runoff, water may start seeping through a hole that has been there for a while and drip onto the ceiling. By the time you notice water dripping in the house, the drywall has likely been saturated. If you don’t do something right away, it could crumble. Finding a leak can take time. You need to staunch the dripping and make an emergency repair as quickly as possible.
Go into the attic if you have access and clear insulation off the wet ceiling drywall—sponge off any standing water. Lay a piece of plywood across the joists and put a bucket on the plywood to catch the water. Please don’t put the bucket directly on the drywall; it may fall through when it fills with water.
Follow the leak back to the point at which it enters the roof. This could be far from the point where it’s dripping onto the ceiling. You can typically trace the path along a rafter, but water sometimes follows the underside of the roof deck.
Make a temporary patch with roofing tar and a piece of shingle or plywood. Trowel the roofing tar into the leak on the underside of the roof deck using a putty knife. Push the shingle or plywood into the tar and trowel more roofing tar around the edges of the patch.
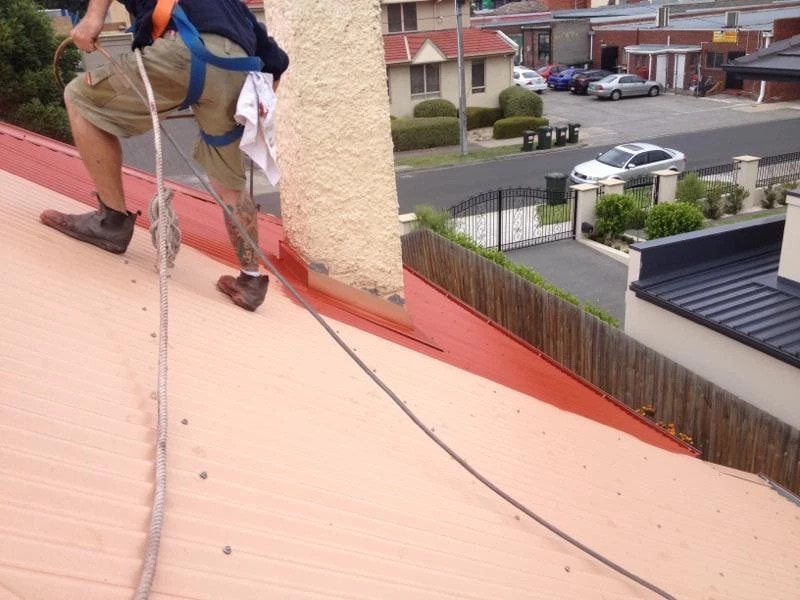
Measure the distance of the leak from the gable and from the ridge while you’re in the attic, using a tape measure. Wait for the rain to let up before you attempt to go on the roof. Put on rubber-soled shoes, go on the roof and measure the same dimensions on the roof. Fortify the undersides of the shingles in the vicinity of the leak with more roofing tar. Don’t attempt to access the roof without taking adequate safety precautions. Take a look at our range of roof repairs Melbourne.
7 Tips on How to Stop a Roof Leak in the Rain
Are you experiencing unwanted water leakage from your concrete roofing? While this is alarming, know that you are not alone in dealing with problems like this. Commercial roofs made from concrete are prone to damages leading to moisture retention and eventually leakage. It does not mean concrete roofs are not any good. Like any roofing system, they have their own advantages and disadvantages. At this point, our objective is to educate building owners on how to stop water leakage from the concrete roof. Proper and regular roofing maintenance will help extend the life of your property to get the best value out of your investment.
FIND THE SOURCE
In order to prevent a ceiling from leaking from rain, you must understand what is allowing water to get into your home. This will save you time and money on tools needed for repairs and fixing multiple leaks.
First, check on your roof to clarify if it’s allowing rain to come in, and not any other problems. Other potential sources for leaks include clogged gutters, pest infestation, and issues with plumbing, heating, and cooling units.
Check on the tiles and drywall in your roof and ceiling to see if there is any damage. If there is a lack of alignment in the areas you inspect, then it may be common for leaks to occur there.
CLEAR THE AREA
Once you have an idea of where the leak is coming from, you can prepare the area for repairs. By clearing out the area where water would come in, you can stop roof leak damage and know quickly if a leak is present.
You can mop the wet area under the leak and place pails to catch extra water coming through the roof. Suction hoses come in handy for leaks that are coming through a floor above you.
Don’t forget to move furniture and other appliances out of the way of the leak. If the furniture is too heavy or difficult to move, then cover it with plastic covers to keep them dry.
APPLY ROOFING TAR
In addressing how to fix a leaking roof from the inside, you must first assess the outside of your home. One way to do that is by keeping the roof tiles in good shape.
That’s where roofing tar patches, which work best for removable tiles, can help. You can take the tiles off to find internal leaks, and roofing tar can seal the leak in the inner ceiling.
Roofing tar can perform better with support from material such as a piece of shingle or plywood. You can push the shingle or plywood against the area with the leak and then apply the roofing tar to keep the spot dry.
USE PE PLASTIC
Some covering material is best suited for leaks where the source is harder to find. A prime example is a polyethylene (PE) plastic, which can limit the amount of space affected by leaks and can catch water trying to get in.
All you need is a ruler to measure how much PE plastic you need to cover the leaking area. We advise giving your plastic three to four extra feet to minimise future leaks as much as possible.
Next, use staples to attach the plastic to the area and then nails to keep the plastic in place. Keep your PE plastic as thick as possible so that you can shield your rooms from as much water as possible.
INSTALL NEW SHINGLES
The condition of your shingles also affects how effective your roof can stop a leak. Shingles with curls, bruises, and pieces missing make it easier for water to get into your home from the outside.
Make sure to wear proper safety gloves to avoid cuts when removing older shingles. Before you climb up the ladder to get to the leaking area, put on rubber boots to avoid slipping.
Remove the old and broken shingles with a straight edge and hammer’s nail removal hook and apply the replacement with nails and roofing tar. This works best as a temporary fix until you find a more durable shield from the rain. Looking for a roof replacement? Check out Top Glaze for a wide range of roof services.
USE TARPAULINS
Some of you may expect a storm tomorrow and need a quick fix to your roof leak. One method is to install a tarpaulin, which can cover up areas that you suspect to have exterior leaks.
The size of the tarp that you use may depend on the number of leaks you’re dealing with, as well as the size of your roof. Using multiple tarps comes in handy for a roof that is too big for just multiple leaks and leaks in different spots.
We recommend anchoring the tarp with heavy concrete blocks as well as extending it over the ridge to keep the tarp in place, especially for storms with heavy rain and strong winds. Nails can also help in case you are dealing with a mild storm.
SEAL JOINTS
Your chances of dealing with a roof leak may increase if they come from joints on your roof. Rainwater can find ways to enter your home through gaps as well as chalk and aluminium flashing in areas where surfaces join.
These areas often include chimneys and valleys, and you can close them with roof sealant or cement. However, make sure the area is dry and debris-free before applying the sealant.
Save the sealant for smaller leaks and use new flashing to deal with larger cracks in your roof. Knowing which tools to use will reduce future issues and save you money on getting a new roof in the future.
How to Fix a Leaky Roof When You See Drips or Water Marks
The pattern of rain on a rooftop can actually be a relaxing sound. But no matter how much you love a good thunderstorm, you probably prefer it to stay on the outside of your house. If you see watermarks on your ceiling or wall after a heavy rain, don’t wait to address it, as this is a sign that your roof is compromised. This problem will only get worse — it’ll never get better or go away on its own.
Secure the Scene – It might sound like the start of an episode of CSI, but your first step should be to contain the scene. Stick a bucket under any drips, and move furniture or valuables out of the path of seeping or dripping water. If water is plopping onto the carpet or your hardwood floors, put a tarp or even some carpet remnants over your good flooring.
Drain the Water – Mom probably always told you not to poke at blisters, but the same rules don’t apply to blisters that form under your paint and drywall when water gets in. Water is a powerful force, and it will continue to build up and spread underneath the wall. It will also build up the weight that can damage your walls and ceiling — even leading to a collapse. Use a small screwdriver to tap a small hole in the affected area to release any built-up water. You can always patch and repair a small section of drywall; it’s a lot harder and more expensive to replace your entire ceiling.
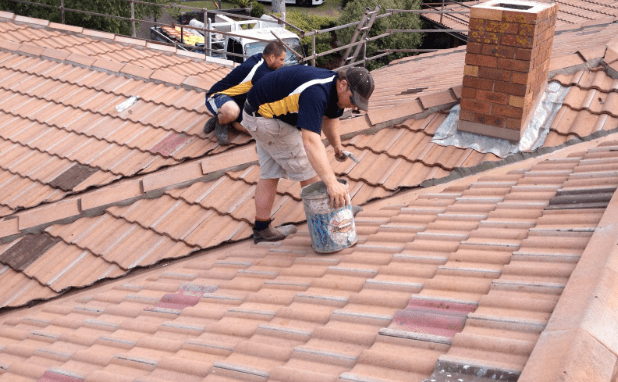
Check Out the Attic – If you can safely access your attic or crawl space, head upstairs during the day. You might be able to see if there are any areas where sunlight is streaming through the roof. This might be the point of entry for the moisture. You can also head outside to see if your roof has lost any shingles or if any shingles are curled at the edges. Sometimes, fixing a roof leak is as simple as smoothing these out and nailing them back into place.
Consider the Water-Test Method – In some cases, finding the source of the leak (or leaks) isn’t straightforward. If scoping out the attic doesn’t reveal any obvious signs of damage, ask a friend or neighbour (or a very patient spouse) to spray your roof with a garden hose while you stand in the attic. If you start seeing drips, mark them with a permanent marker or piece of painter’s tape. Just make sure you can do so safely. Attics are notorious for being filled with tripping hazards and low, sloped ceilings. Before you decide to go hunting for leaks, always make sure someone knows you’re up there. It’s also a good idea to take a cell phone, so you can call for help if you need it.
Call in the Pros – Although many leaking roofs can be repaired by replacing a few worn out or missing shingles, some leaks are a sign of a bigger problem. If you’ve got water coming in through multiple entry points, you probably need a new roof. In this case, it’s best to get the job done quickly. The longer you wait, the greater the chances of serious water damage both inside and out.
Why Waterproofing Matters
Of all the things your roof does, keeping the water out is arguably the most important. That’s because leaking water tends to damage every part of the roof’s structure — and small leaks tend to get worse over time. Water seepage is difficult to stop without a strong watertight seal.
It doesn’t take much for water to come through the roof. Wind and ice can work on loose shingles until gaps appear in hard-to-reach places. Then, age and the elements cause stiffening and cracks in the undersurface until there’s space for water to seep down into the roof timbers. After that, the forces of nature can cause anything from expanding cracks and collapsing ceiling plaster to black mould and rotted framing. Worse, the presence of water under your roof’s protective surface speeds up the weathering process, accelerating wear and tear to other parts of the roof and shortening its life.
How a Typical Residential Roof Works
Though it looks pretty simple from the outside, a modern home’s roof is actually a complicated system designed to keep moisture away from the interior of your home. The outer layer of the roof, which is all most people see, is the surface covering. These can be wood shingles, also called shakes, asphalt shingles or ceramic tiles. Which materials you use depend on your local climate and the cost or availability of the roofing materials, as well as the aesthetic appeal you feel each covering has.
Whatever material your shingles are made of, they’re almost always attached to a supportive layer called the underlayment. This can be made of felt or synthetic waterproof material, and it’s the surface your shingles rest on to distribute their weight. The underlayment is also where you attach the lowest row of shingles, called starter shingles, which higher rows are arranged in line with; this helps keep the rest of the shingles straight in their rows.
Underneath the underlayment, just about every roof has an ice-and-water barrier. This is an impermeable layer of either tar or polymer, leaving virtually no way for water to pass through. It’s important for this layer to have a few holes in it as possible and for it to lay flush and straight so that water can run off of it and into the gutters.
All around the roof, you might see bits of “anodised” metal at the edges and corners. This is the flashing that protects the underlayment at key weak points, such as the edges of the roof and around areas of ventilation. Because this flashing is made from weatherproofed metal, often aluminium, it forms a completely impassable barrier for moisture that keeps the rain off the roof areas that the regular barrier doesn’t protect. Top Glaze has a wide range of Melbourne roof restoration services.
When to Call a Professional
Professional roof repair teams have their place. When the damage to your roof is moderate to severe, or it seems beyond your ability to fix in a way that’s up to code, you probably need help from a licensed professional roofer. Likewise, extensive external damage — such as when large sections of shingles are lost in a windstorm or when there’s damage to multiple layers — typically doesn’t lend itself to a DIY fix.
When you go to choose a contractor, heed the following tips:
- Only licensed, bonded and insured contractors.
- Never accept unsolicited offers of roofing work; this is a common scam that can lead to very expensive damage to your roof.
- Ask around for referrals from others who have worked with a specific contractor, and make sure you check the status of the company’s license online.
- The Better Business Bureau is also likely to have information about unresolved customer issues with your roofing contractor.
Vetting roofers can be a time-consuming process, which many homeowners don’t have the resources or the energy for before the next rain causes more damage to their roof. Fortunately, it is possible to plan ahead and to be ready for when you need to fix.